An iambic keyer is a type of electronic keyer used in Morse code communication. It allows operators to send precise and efficient Morse code signals using a dual-lever paddle. This tool is widely used by amateur radio operators (hams) and professional telegraphers who require speed and accuracy in their transmissions.
Understanding how an iambic keyer works and its advantages over other keying methods can help radio enthusiasts improve their Morse code proficiency. This topic explores the mechanism, benefits, operating techniques, and differences between iambic keyers and other keying devices.
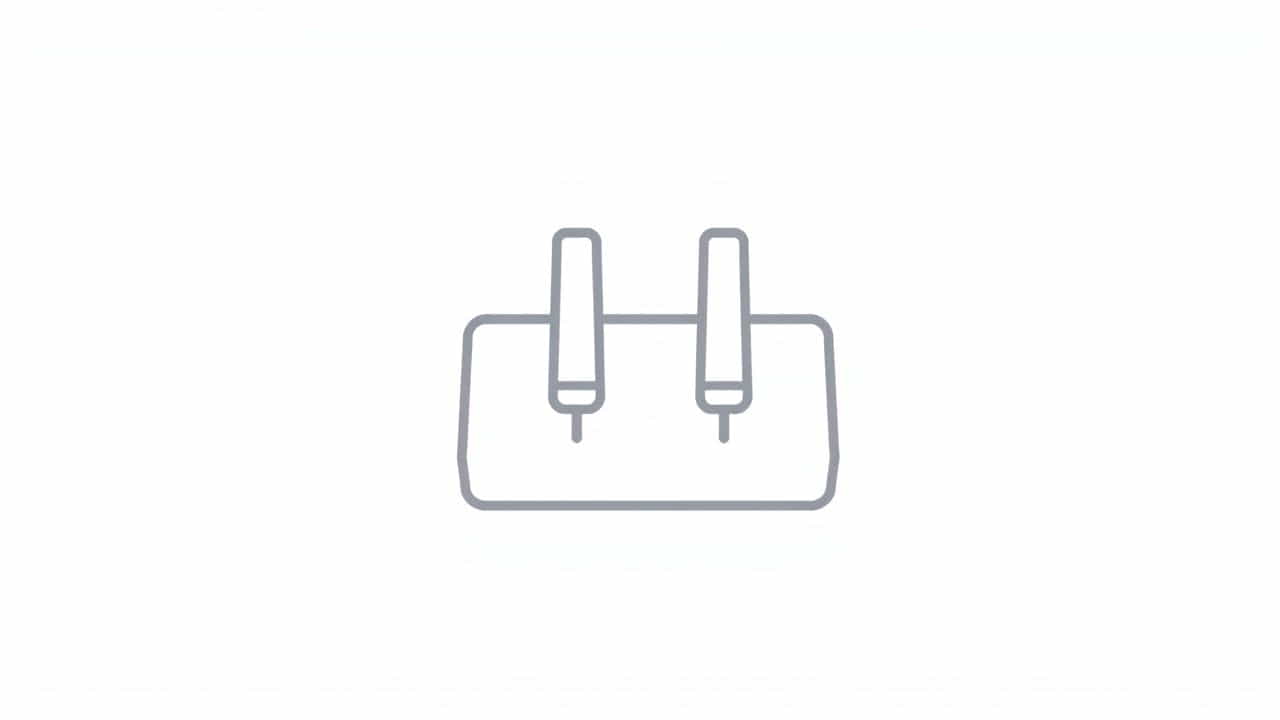
What Is an Iambic Keyer?
An iambic keyer is an electronic device that helps automate Morse code transmission by generating dots (·) and dashes (-) when a user manipulates a dual-lever paddle. The keyer interprets the pressing and releasing of the paddle levers to create continuous sequences of characters.
This system enhances Morse code efficiency by allowing operators to send code faster compared to traditional straight keys.
How Does an Iambic Keyer Work?
An iambic keyer operates using two paddles, one for dots (·) and one for dashes (-). When the operator:
✔ Presses the left paddle, the keyer produces a series of dots.
✔ Presses the right paddle, it generates a series of dashes.
✔ Presses both paddles simultaneously, the keyer alternates dots and dashes automatically (iambic mode).
This automatic alternation is the key feature of an iambic keyer, making Morse code faster and more efficient than manual methods.
Iambic Keyer vs. Other Keying Methods
There are several ways to send Morse code, each with distinct advantages.
1. Straight Key
✔ A traditional method requiring manual pressing of the key for each dot and dash.
✔ Common among beginners and historical telegraph operators.
✔ Slower and more physically demanding.
2. Semi-Automatic Key (Bug Key)
✔ Uses a mechanical mechanism to generate automatic dots.
✔ The operator must manually create dashes.
✔ Faster than a straight key but requires skill to master.
3. Single-Lever Paddle Keyer
✔ Uses a single lever instead of two.
✔ Generates dots and dashes electronically but lacks the iambic function.
✔ Easier to learn but not as efficient as an iambic keyer.
4. Iambic Keyer (Dual-Lever Paddle Keyer)
✔ Uses dual paddles for automated dot-dash alternation.
✔ Faster and less physically straining than other keying methods.
✔ Requires an electronic keyer circuit for operation.
Iambic Keying Modes: Mode A vs. Mode B
Most modern iambic keyers operate in either Mode A or Mode B. The difference lies in how the keyer handles the final element after a paddle is released.
1. Mode A (Simple Iambic Operation)
✔ The keyer completes the last dot or dash after the paddle is released.
✔ Preferred by beginners because it is more predictable.
2. Mode B (Advanced Iambic Operation)
✔ The keyer adds an extra element after the paddle is released (e.g., if the user releases the paddles during a dot-dash sequence, the keyer automatically adds another dot).
✔ Used by experienced operators who want maximum efficiency.
Advantages of Using an Iambic Keyer
An iambic keyer provides many benefits for Morse code users, making it a popular choice for amateur radio operators.
✔ Faster Morse Code Transmission – The automatic alternation of dots and dashes increases sending speed.
✔ Reduces Operator Fatigue – Requires less hand movement than a straight key or bug key.
✔ More Accuracy and Consistency – Produces precise and uniform Morse code signals.
✔ Ideal for Long Operating Sessions – Suitable for contests, emergency communication, and high-speed CW operation.
How to Use an Iambic Keyer Effectively
To master an iambic keyer, follow these best practices:
1. Learn the Basic Paddle Movements
✔ Start by practicing separate dots and dashes using the correct paddle.
✔ Gradually introduce iambic squeezing for improved efficiency.
2. Adjust Keyer Speed to Your Comfort Level
✔ Begin at a slower speed to build muscle memory.
✔ Increase speed gradually as proficiency improves.
3. Use Proper Hand Positioning
✔ Keep hands relaxed to prevent fatigue.
✔ Rest fingers lightly on the paddles for precise control.
4. Practice with Morse Code Software or Trainers
✔ Many online tools and apps help improve iambic keying techniques.
✔ Practice regularly to develop muscle memory and rhythm.
5. Experiment with Mode A and Mode B
✔ Find out which mode feels more comfortable and efficient for your operating style.
Choosing the Right Iambic Keyer
When selecting an iambic keyer, consider the following factors:
✔ Keyer Compatibility – Ensure the keyer is compatible with your radio setup.
✔ Adjustability – Look for keyers that allow customization of speed, weight, and spacing.
✔ Build Quality – High-quality paddles provide better feedback and durability.
✔ Mode Options – Choose a keyer that supports both Mode A and Mode B for flexibility.
Common Mistakes to Avoid When Using an Iambic Keyer
Even experienced operators make mistakes when switching to an iambic keyer. Here are some common errors and how to avoid them:
1. Pressing Too Hard on the Paddles
✔ Solution: Use a light touch to avoid excessive tension and errors.
2. Releasing the Paddles Too Early
✔ Solution: Hold the paddles long enough for the desired dot-dash sequence.
3. Using the Wrong Mode Without Practicing
✔ Solution: Spend time learning Mode A and Mode B before choosing one permanently.
4. Not Practicing Squeeze Keying
✔ Solution: Regular practice is key to mastering alternating dot-dash sequences.
An iambic keyer is an essential tool for Morse code enthusiasts, offering speed, efficiency, and reduced fatigue compared to traditional keying methods. By mastering the proper techniques and choosing the right mode, operators can improve their Morse code proficiency and enhance their communication skills.
Whether you’re a beginner or an experienced CW operator, an iambic keyer can make a significant difference in your Morse code sending accuracy and speed.