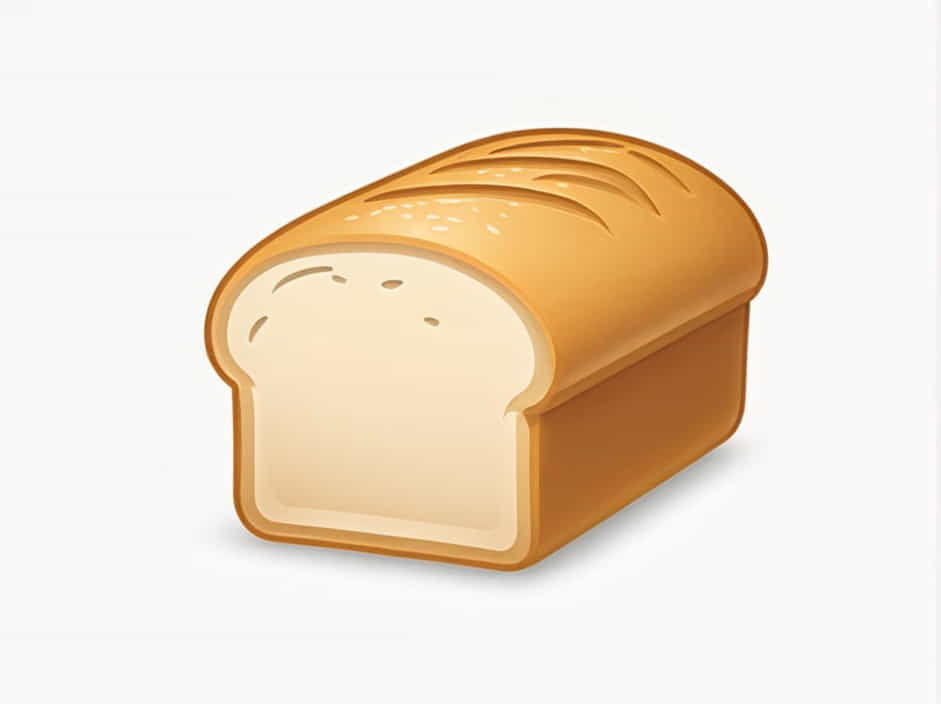
Sourdough bread is a timeless classic, known for its crisp crust, chewy texture, and tangy flavor. Making sourdough at home may seem intimidating, but with patience and the right technique, you can create two perfect loaves with just a few ingredients.
This step-by-step guide will walk you through the process of making two loaves of sourdough bread from scratch. Whether you’re a beginner or an experienced baker, this recipe will help you achieve a delicious, homemade sourdough.
Ingredients for 2 Loaves of Sourdough Bread
To make two loaves, you will need the following:
For the Dough:
✔ 1,000g (8 cups) bread flour – Provides structure and chewiness.
✔ 750g (3 cups) water – Hydrates the dough and activates gluten.
✔ 200g (1 cup) active sourdough starter – Adds natural fermentation and flavor.
✔ 20g (1 tbsp) salt – Enhances taste and strengthens the dough.
For Feeding the Starter (If Needed):
✔ 100g (½ cup) flour
✔ 100g (½ cup) water
Step 1: Feed Your Sourdough Starter
If your sourdough starter has been in the fridge, take it out 4-6 hours before baking and feed it with equal parts flour and water. It should become bubbly and active before use.
Step 2: Mix the Dough
- In a large mixing bowl, combine flour and water.
- Stir until a shaggy dough forms. Let it rest for 30-45 minutes (this process is called autolyse, allowing the flour to absorb the water).
- After resting, add the sourdough starter and salt. Mix well by hand until everything is incorporated.
Step 3: Bulk Fermentation and Stretch & Folds
Bulk fermentation is the process where the dough rises and develops structure.
- Cover the bowl with a damp towel and let it rest at room temperature (21-24°C or 70-75°F).
- Every 30 minutes for 3-4 hours, perform a stretch and fold:
✔ Grab one side of the dough, stretch it upward, and fold it over itself.
✔ Repeat this on all four sides.
✔ This builds strength without kneading.
By the end of bulk fermentation, the dough should be puffy and slightly domed.
Step 4: Divide and Shape the Loaves
- Lightly flour a clean surface and divide the dough into two equal pieces.
- Shape each piece into a rough ball and let them rest for 20-30 minutes.
- Final shaping:
✔ Flatten the dough slightly into a rectangle.
✔ Fold the top edge towards the center, then fold the bottom edge over it.
✔ Roll it gently into a tight, round shape or oval (batard shape).
Step 5: Cold Proofing for Maximum Flavor
- Place each shaped dough into a floured proofing basket (banneton) or a bowl lined with a towel.
- Cover and refrigerate for 12-24 hours.
✔ This slow fermentation develops deeper flavor.
✔ Chilled dough is easier to handle and creates a crispier crust.
Step 6: Preheat and Prepare for Baking
- Preheat your oven to 230°C (450°F) for at least 45 minutes.
- Place a Dutch oven or baking stone inside to heat up.
- Take the dough out of the fridge and place it on parchment paper.
Step 7: Scoring and Baking
- Using a sharp razor or bread lame, score the top of each loaf (a deep slash allows the bread to expand).
- Transfer the dough to the hot Dutch oven or baking stone.
- Bake at 230°C (450°F) for 20 minutes with the lid on.
- Remove the lid and bake for 20-25 more minutes until golden brown.
- The bread is done when it has a deep brown crust and sounds hollow when tapped.
Step 8: Cooling and Enjoying
✔ Let the sourdough cool on a wire rack for at least 1 hour before slicing.
✔ Cutting too early will release steam and make the bread dense.
Now, enjoy your perfect homemade sourdough loaves!