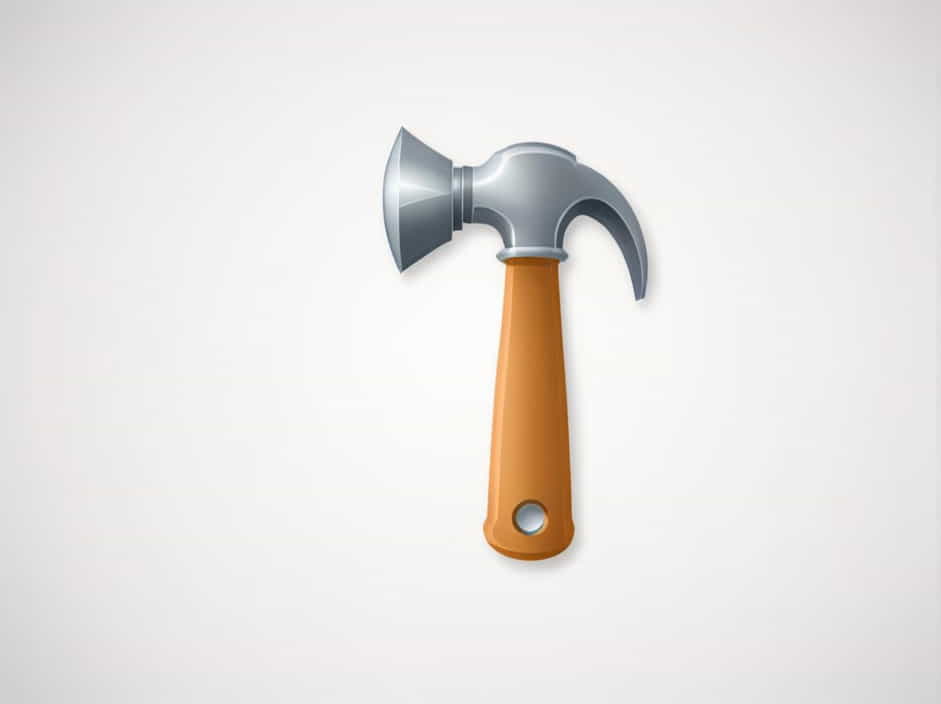
A ball peen hammer is a common tool used in metalworking, mechanics, and general construction. Unlike a regular hammer, it has a rounded peen on one side and a flat striking surface on the other. Learning to draw a ball peen hammer is a great way to practice basic sketching skills, including proportions, shading, and detailing.
This guide will take you through a step-by-step process to draw a ball peen hammer. Whether you’re a beginner or an experienced artist, following these instructions will help you create an accurate and realistic drawing.
Materials You Need
Before starting, gather the following materials:
- A pencil (HB for outlines, 2B or 4B for shading)
- An eraser
- A ruler (optional for straight lines)
- A sketchbook or drawing paper
- A black pen or marker (optional for final outlining)
Step 1: Sketch the Basic Shape of the Hammerhead
Start by drawing a horizontal oval for the flat striking surface of the hammerhead. This oval should be slightly elongated to represent the top view.
Next, extend the shape by drawing a curved line from one side of the oval, forming a semi-circle on the opposite end. This represents the rounded peen of the hammer.
To complete the hammerhead, connect the two ends with curved lines to form a solid, three-dimensional shape. Ensure that the flat face and ball peen are proportionate to each other.
Step 2: Outline the Hammer Handle
From the bottom of the hammerhead, draw two parallel lines extending downward. These lines should slightly curve to reflect the natural shape of a wooden or metal handle.
The length of the handle should be two to three times the size of the hammerhead to ensure realistic proportions. If needed, use a ruler to keep the lines straight and even.
At the end of the handle, draw a rounded bottom or a slight flare to mimic a traditional hammer grip. This small detail adds realism to your drawing.
Step 3: Refine the Hammerhead Details
Now that the basic shapes are complete, refine the hammerhead by adding depth and dimension:
- Curve the edges of the hammerhead slightly to make it look more realistic.
- Add a slight bulge to the ball peen end, making it look spherical.
- Define the transition area where the hammerhead meets the handle with a narrow neck or a subtle indentation.
If you’re aiming for a realistic metal look, ensure that the hammerhead has smooth edges and a polished surface.
Step 4: Add Texture and Grip to the Handle
A ball peen hammer typically has a wooden or rubber-coated handle. To depict this:
- Draw fine lines along the handle to show the wood grain if its a wooden handle.
- If the hammer has a rubber grip, add diagonal lines or cross-hatching to indicate a textured surface.
By adding these small details, the drawing becomes more visually appealing and lifelike.
Step 5: Add Shadows and Highlights
Shading is crucial to making the hammer appear three-dimensional. Follow these shading tips:
- Use a 2B or 4B pencil to shade the hammerhead, focusing on areas where light does not hit directly.
- Apply gradient shading on the ball peen to emphasize its roundness.
- Add soft shadows along the handle to indicate depth.
- If you want a metallic effect, leave some areas lighter to resemble reflected light.
For additional depth, draw a soft shadow beneath the hammer as if it were resting on a surface.
Step 6: Finalize with Ink or Darker Pencil Outlines
To make your drawing stand out, go over the main outlines with a darker pencil, pen, or marker. This will:
- Define the shapes more clearly.
- Enhance the contrast between different parts of the hammer.
- Make the drawing more polished and complete.
Erase any unnecessary sketch lines to keep the drawing clean and professional.
Step 7: Add a Background (Optional)
If you want to create a more engaging composition, consider adding a background:
- Draw a workbench under the hammer.
- Include other tools nearby, like wrenches or nails.
- Sketch a blueprint-style technical drawing behind it.
This step is optional but can make your drawing more interesting and detailed.
Common Mistakes to Avoid
When drawing a ball peen hammer, beginners often make these mistakes:
- Incorrect Proportions Ensure the hammerhead is not too large or too small compared to the handle.
- Lack of Perspective Adding slight curves and shading makes the drawing look more natural.
- Ignoring Shading Without shadows and highlights, the drawing may appear flat.
- Too Many Sketch Lines Keep the final drawing clean by erasing unnecessary lines.
By avoiding these errors, your drawing will look more professional and accurate.
Tips for Improving Your Drawing Skills
If you want to enhance your sketching abilities, follow these tips:
- Observe real hammers to understand their shape and details.
- Practice sketching different angles to improve your perspective skills.
- Experiment with shading techniques to achieve realistic textures.
- Use reference images to check proportions and features.
- Keep practicing drawing takes time and patience!
Drawing a ball peen hammer is a great exercise for improving your technical drawing skills. By following these step-by-step instructions, you can create a realistic and well-proportioned hammer sketch.
With practice, shading, and attention to detail, your drawing will look more professional. Whether you’re drawing for fun, school projects, or artistic improvement, mastering simple objects like a hammer will help you develop a strong foundation in sketching and illustration.
Now, grab your pencil and start drawing! Happy sketching!
