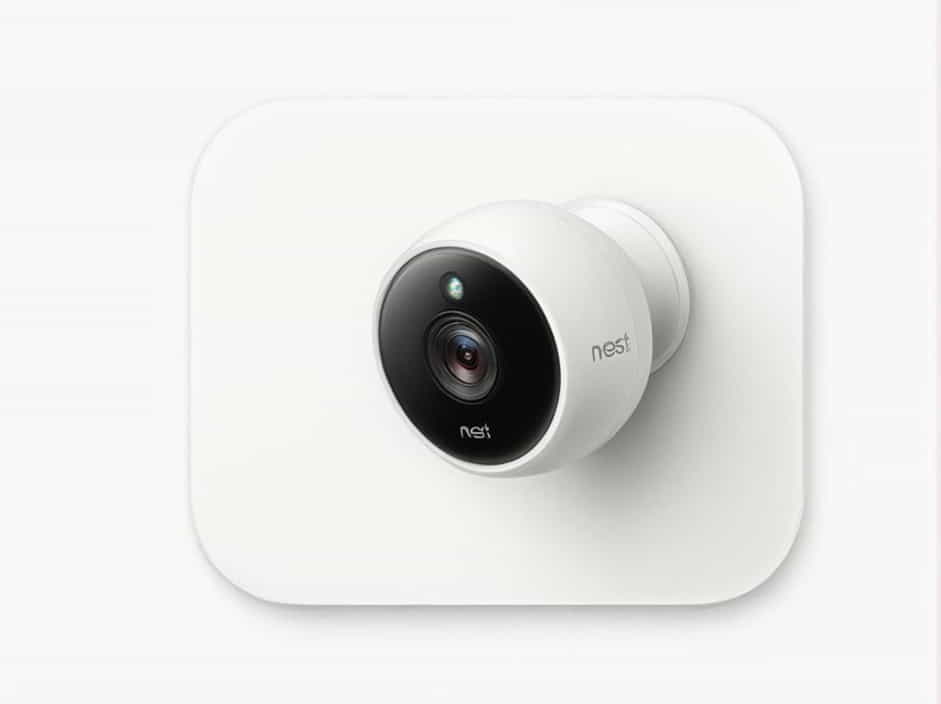
The Nest Cam with Floodlight is a smart security camera that combines advanced video surveillance with powerful motion-activated floodlights. This device enhances home security, providing 24/7 monitoring with night vision and smart alerts. However, proper installation is crucial to ensure optimal performance.
This guide walks you through installing the Nest Cam with Floodlight, covering tools, setup steps, troubleshooting tips, and best practices.
Why Choose the Nest Cam with Floodlight?
Before diving into installation, it’s essential to understand why this smart security solution is a great investment.
Key Features
- 1080p HD Video with HDR and night vision.
- Intelligent motion detection with person, vehicle, and animal alerts.
- Two-way audio for real-time communication.
- Weather-resistant design for outdoor use.
- Bright LED floodlights for enhanced security.
- Google Assistant and Alexa integration for smart home connectivity.
Benefits of Installing a Nest Cam with Floodlight
- Deter intruders with bright floodlights and real-time alerts.
- Improve nighttime visibility with motion-activated lighting.
- Monitor your home remotely using the Google Home app.
- Reduce false alarms with AI-based detection.
Tools and Materials Needed for Installation
Before starting the installation process, gather the following tools:
Required Tools
✔ Screwdriver (Phillips and flathead)
✔ Power drill (if mounting on a solid surface)
✔ Voltage tester
✔ Wire strippers
✔ Ladder (if mounting high)
Included in the Box
✔ Nest Cam with Floodlight
✔ Mounting plate
✔ Wire connectors
✔ Screws and anchors
✔ Installation guide
Pre-Installation Checklist
Before installing, follow these preparation steps to ensure a smooth setup.
1. Choose the Best Location
- Install at a height of 8-10 feet for optimal motion detection.
- Ensure the camera has a clear view of entry points like doors or driveways.
- Position away from obstructions such as trees or walls.
2. Turn Off Power at the Breaker
- Locate your home’s circuit breaker panel.
- Turn off the power supply to the area where you’ll install the floodlight.
- Use a voltage tester to confirm power is off before handling wires.
3. Check WiFi Signal Strength
- Ensure the WiFi signal is strong at the installation site.
- Use a WiFi analyzer app to test signal strength.
- If needed, consider adding a WiFi extender for better connectivity.
Step-by-Step Installation Guide
Step 1: Remove the Old Light Fixture (If Applicable)
- Unscrew and carefully remove the existing floodlight or outdoor fixture.
- Disconnect wiring and remove the old mounting plate.
Step 2: Install the Mounting Plate
- Attach the included mounting plate to the electrical box.
- Secure it with the provided screws.
Step 3: Connect the Wires
- Match the wires from the Nest Cam with Floodlight to the existing house wiring:
- Black (hot) → Black (hot) from house wiring
- White (neutral) → White (neutral) from house wiring
- Green (ground) → Green or bare copper from house wiring
- Use the included wire connectors to secure the connections.
Step 4: Attach the Floodlight and Camera
- Align the Nest Cam with Floodlight with the mounting plate.
- Secure it with the provided screws.
- Adjust the camera angle for the best view.
Step 5: Restore Power and Set Up the Camera
- Turn the power back on at the breaker.
- Open the Google Home app and follow the on-screen instructions to connect the camera to WiFi.
- Adjust motion detection and lighting settings in the app.
Troubleshooting Common Installation Issues
Even with careful installation, you may encounter some common issues. Here’s how to fix them:
1. Floodlight Doesn’t Turn On
✔ Check if power is restored at the breaker.
✔ Ensure wires are securely connected.
✔ Verify floodlight settings in the Google Home app.
2. Camera Won’t Connect to WiFi
✔ Move the router closer to the installation site.
✔ Restart your WiFi router and try reconnecting.
✔ Check if the camera is in pairing mode.
3. Motion Detection Isn’t Working Properly
✔ Adjust motion sensitivity settings in the app.
✔ Ensure there are no obstructions blocking the sensor.
✔ Verify the camera is installed at the recommended height.
Best Practices for Nest Cam with Floodlight
To maximize performance, follow these best practices:
1. Position the Camera Strategically
- Avoid direct sunlight exposure to prevent glare.
- Mount the camera where it covers key entry points.
2. Customize Motion Alerts
- Set custom zones to reduce false alerts.
- Adjust motion sensitivity to fit your security needs.
3. Keep Firmware Updated
- Regularly check for firmware updates in the Google Home app.
- Enable automatic updates for security patches.
4. Clean the Camera Lens and Sensors
- Use a soft cloth to clean the camera lens.
- Remove dust and debris from the floodlight sensor.
5. Secure Your WiFi Network
- Use a strong password for your home network.
- Enable two-factor authentication for your Google account.
Installing the Nest Cam with Floodlight is a straightforward process that significantly enhances home security. By following the correct installation steps and best practices, you can ensure optimal performance and seamless integration with your smart home.
With motion-activated floodlights, intelligent alerts, and real-time monitoring, this smart security camera provides peace of mind and 24/7 protection for your home.
