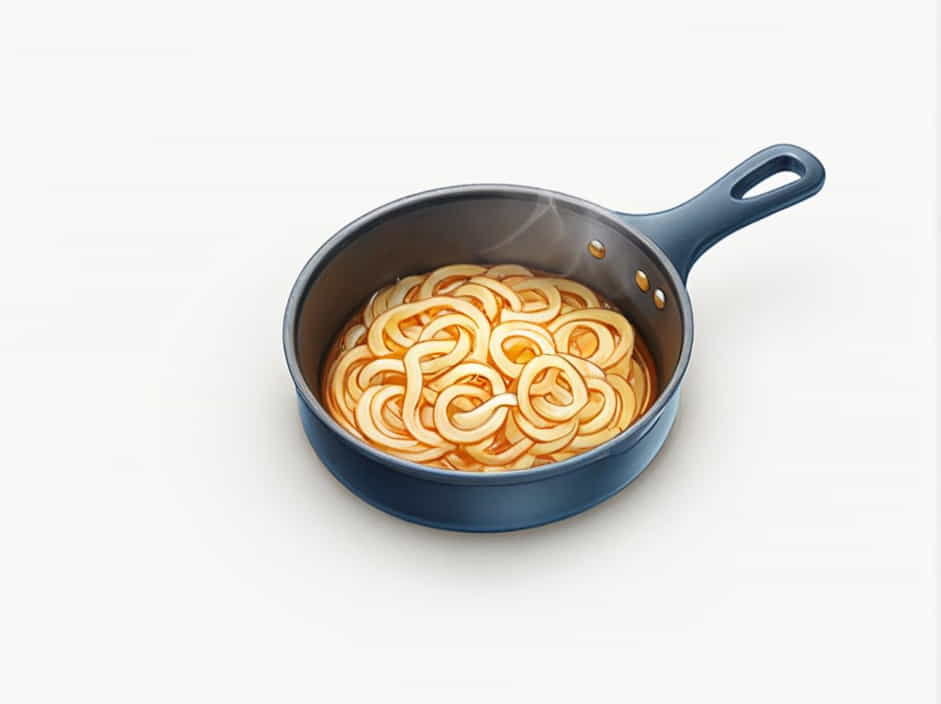
Caramelized onions add depth, sweetness, and richness to many dishes. However, achieving that perfect golden-brown color and deep flavor depends not only on technique but also on choosing the right pan.
In this guide, we will explore the best types of pans for caramelizing onions, the materials that work best, and tips for getting the most delicious results.
1. Why Choosing the Right Pan Matters
Caramelizing onions is a slow process that requires even heat distribution and good moisture control. The right pan will help:
- Prevent burning or uneven cooking.
- Allow moisture to evaporate properly.
- Provide enough surface area for even browning.
Using the wrong pan can lead to scorching, sogginess, or uneven caramelization, which affects both taste and texture.
2. Best Pans for Caramelizing Onions
2.1. Stainless Steel Pan
A stainless steel pan is one of the best choices for caramelizing onions because:
- It conducts heat evenly, preventing hot spots.
- The surface allows onions to stick slightly, which helps develop flavor through the fond (browned bits that form at the bottom).
- It is durable and non-reactive, making it safe for all types of ingredients.
Best for: Home cooks who want rich, deep caramelization with a professional touch.
Tip: Use a wooden spoon or spatula to scrape up the browned bits and mix them into the onions for extra flavor.
2.2. Cast Iron Skillet
A cast iron skillet is another excellent option due to its:
- High heat retention, which keeps onions cooking evenly.
- Ability to create deep caramelization over time.
- Versatility—it can be used on the stovetop or in the oven.
Best for: Those who love intense browning and deeper flavors.
Tip: Make sure your cast iron is well-seasoned to prevent onions from sticking too much.
2.3. Enameled Cast Iron Pan
If you love the performance of cast iron but want easier maintenance, an enameled cast iron pan is ideal. It offers:
- Even heating without the need for seasoning.
- A smooth surface that makes cleanup easier.
- Great heat retention, which ensures consistent caramelization.
Best for: People who want the benefits of cast iron without the hassle of seasoning.
Tip: Avoid using metal utensils to prevent scratching the enamel.
2.4. Nonstick Pan (Not Ideal but Possible)
A nonstick pan can work, but it is not the best choice because:
- Onions don’t stick to the surface, so they don’t develop as much flavor.
- It doesn’t handle high heat well, which can slow down caramelization.
Best for: Beginners who want an easy cleanup, but it won’t give the deepest caramelization.
Tip: Use low to medium heat and stir frequently to prevent burning.
2.5. Copper Pan
Copper pans provide the best heat control, but they:
- Require constant stirring to prevent burning.
- Can be expensive and require maintenance.
Best for: Experienced cooks who want precise heat control.
Tip: Use a lined copper pan (with stainless steel or tin) to avoid any reaction with acidic ingredients.
3. What Pan Size Should You Use?
The size of the pan matters when caramelizing onions:
- For small batches (1-2 onions): Use an 8- to 10-inch pan.
- For medium batches (3-4 onions): Use a 10- to 12-inch pan.
- For large batches (5+ onions): Use a large 12- to 14-inch pan or a wide Dutch oven.
A larger surface area allows more moisture to evaporate, preventing onions from becoming soggy.
4. Tips for Perfectly Caramelized Onions
4.1. Use the Right Heat Level
- Start with medium heat to soften the onions.
- Reduce to low heat for slow caramelization.
High heat can burn onions before they caramelize properly.
4.2. Stir Occasionally
- Stir every few minutes to prevent burning.
- Let the onions sit briefly so they can develop color.
Over-stirring can prevent proper browning.
4.3. Add a Little Liquid If Needed
- If onions start sticking too much, deglaze with water, broth, or wine.
- This helps lift the browned bits and intensifies flavor.
4.4. Use the Right Fat
- Butter adds richness and sweetness.
- Olive oil provides a lighter taste and prevents burning.
- A mix of both is ideal for balanced flavor.
4.5. Be Patient
Caramelizing onions takes at least 30-45 minutes. Rushing the process won’t give the same depth of flavor.
5. Common Mistakes to Avoid
5.1. Using a Pan That’s Too Small
A crowded pan traps moisture, making onions steam instead of caramelize.
5.2. Using High Heat
Fast cooking leads to burned edges and raw centers. Low heat is key.
5.3. Stirring Too Often
Onions need time to brown and develop flavor before stirring.
5.4. Not Adding Liquid When Needed
If onions dry out, they can burn instead of caramelizing properly.
5.5. Rushing the Process
Caramelized onions can’t be rushed—they need time to develop their deep, sweet flavor.
Choosing the right pan for caramelizing onions makes a big difference in achieving perfect results. Stainless steel, cast iron, and enameled cast iron pans are the best options for deep, rich caramelization, while nonstick pans are less ideal but still usable.
By selecting the right size, using proper heat, and being patient, you can make flavorful, golden-brown caramelized onions every time. Whether you’re topping a burger, adding depth to a soup, or enhancing a pasta dish, perfectly caramelized onions will take your cooking to the next level!
